QuickBooks Online Setup: Easy Steps for Business Owners & Beginners
Introduction
As a small business owner, managing multiple responsibilities can be challenging. QuickBooks Online (QBO) simplifies accounting, making it easier to track your finances. Setting up QBO correctly from the start is essential for accurate financial management. This step-by-step guide will walk you through the setup process, helping you gain control over your business finances and paving the way for growth.
Getting Started With QuickBooks Online
Choosing the Right QuickBooks PlanThe first step is selecting the right QBO plan. QuickBooks offers various options tailored to different business needs. Consider factors like the size of your business, the features you require, and your budget.
Creating Your QBO AccountVisit the QuickBooks website to choose your plan and create your account. Enter your email and a secure password, and you’ll be ready to start.
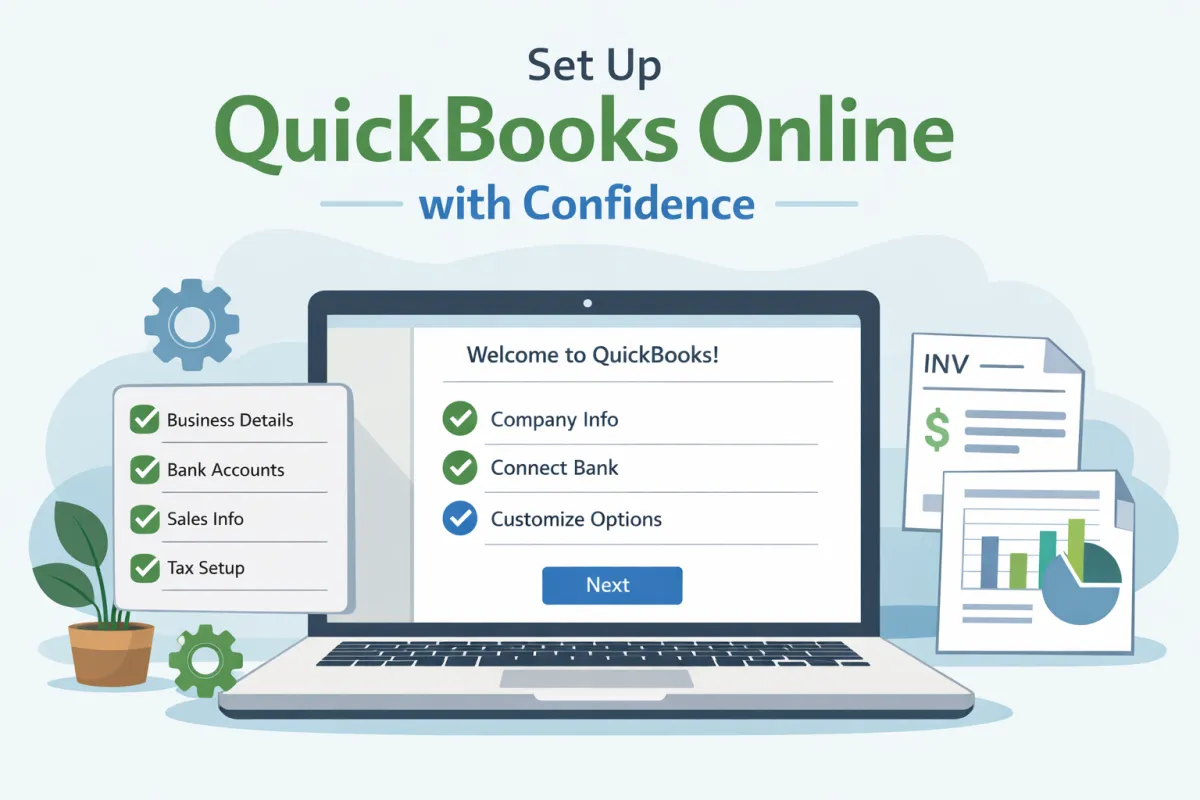
Initial Setup ChecklistOnce your account is created, refer to an initial setup checklist. This list ensures that you cover all important steps, from entering your business information to linking your bank accounts.
Step 1: Enter Your Business Information
Start by entering your business name, industry, and contact details. Properly setting up your business structure is critical for accurate financial reporting. Don’t forget to include your tax information; this will help you stay compliant.
Step 2: Customize Your Company Settings
Setting Your Financial Year StartChoose your financial year start date to align with your business goals.
Setting Permissions for Team MembersManage who has access to your QBO account by assigning permissions based on team members’ roles. This way, everyone has the access they need without compromising sensitive information.
Enabling FeaturesCustomize your settings by enabling features such as invoicing and sales tax. These tools streamline your financial processes.
Step 3: Set Up Your Chart of Accounts
The chart of accounts organizes your financial transactions. QBO provides default accounts, but you should customize these to fit your business needs. Avoid adding unnecessary accounts, which can complicate your financial tracking.
Step 4: Connect Your Bank & Credit Card Accounts
Securely Linking Your BankLink your bank accounts to QBO for seamless transaction tracking. This connection automates the process, saving you time and reducing errors.
Importing Past TransactionsTo get a complete picture of your finances, consider importing past transactions.
Organizing Downloaded TransactionsAs transactions download, review and categorize them to ensure your records are accurate and current.
Step 5: Set Up Products, Services, and Customers
Adding Customer ProfilesBuild relationships by adding profiles for your customers. This feature streamlines invoicing and enhances customer management.
Setting Up VendorsCreate vendor profiles as well, making expense tracking and payments simpler.
Creating Products and Service ItemsMake invoicing easier by creating detailed profiles for each product or service you offer.
Step 6: Customize Invoices & Sales Forms
Step-by-Step CustomizationPersonalize your invoices to reflect your brand. This customization adds a professional touch to your communications.
Adding Your Business LogoIncorporate your logo into invoices for better brand recognition.
Setting Payment TermsClearly define payment terms and consider enabling online payment options to accelerate transactions.
Step 7: Set Up Payroll (Optional)
When to Enable PayrollIf you have employees, consider enabling payroll inside QBO to manage salaries and compliance seamlessly.
Steps to Configure PayrollFollow the prompts in QBO to set up payroll, ensuring all tax and compliance information is accurate.
Step 8: Learn Basic QBO Workflows
Categorizing TransactionsGet comfortable with categorizing transactions to maintain accurate records.
Sending Invoices and Receiving PaymentsLearn how to send invoices and track payments to keep your cash flow healthy.
Recording Bills and ExpensesRegularly input bills and expenses to ensure thorough financial oversight.
Running Basic Financial ReportsUtilize QBO’s reporting tools to generate key financial reports, giving you insights into your business performance.
Common Setup Mistakes to Avoid
Avoid these common setup mistakes to ensure your QBO setup is effective:
Incorrect Chart of Accounts: Setting this up improperly can lead to reporting issues.
Not Reconciling from the Start: Avoid discrepancies by reconciling your accounts regularly.
Skipping Customization: Tailoring your QBO setup enhances its effectiveness for your business.
Using Default Categories Blindly: Always check for accuracy to ensure your financial data is represented correctly.
When to Get Professional Help
If you notice persistent issues or feel overwhelmed, it may be time to seek professional help. Signs that you need guidance include confusion with QBO features or recurring errors. A skilled bookkeeper or accountant can optimize your setup, ensuring smooth financial management tailored to your business needs.
By following these straightforward steps, you can set up QuickBooks Online with confidence. This will allow you to simplify your financial management and set your business up for success. With organized financial records, you’ll be better equipped to make informed decisions and achieve your business goals.
